Home › Showerspace › Shower Enclosures Guides › How to Choose Shower Enclosure Glass
Shower Enclosures Guides
How to Choose Shower Enclosure Glass — Start at the End and Work Backwards
Most people choose the glass first. It is the last decision in the sequence, and choosing it first is why specifications change.
There are eleven glass types on this site and six enclosure configurations, and the temptation is to start by picking the one that looks right. That is the wrong end. Four decisions have to be made in a particular order, because each one narrows what the next can be — and three constraints sit above all of them. This page sets out the sequence. For the detail on any individual glass, the decorative shower glass collection is the place to browse.
The Four StepsThe Three Constraints
Why the Order Costs Money
Choosing glass first feels natural because glass is the visible thing. It is also the decision with the most dependencies sitting underneath it.
Here is what actually happens when the glass is chosen first:
- A pattern is selected from a photograph, then the enclosure turns out to be frameless — which sets a thickness the chosen pattern was never sampled at.
- A colour is approved on a small sample, then the project specifies a body tint, and the same nominal colour reads deeper in a thicker panel because tint is a volume effect.
- A printed design is signed off, then the hardware is chosen, and the hole positions the fitting needs were never in the artwork — and holes cannot be added after tempering.
Every one of those is fixable on a drawing and expensive after production. The sequence below exists to put the dependent decisions last.
The one-sentence version. Configuration sets what is possible, function sets what is needed, substrate sets how everything else looks, and the decorative layer is chosen last because all three have already constrained it.
The Four Steps
Step 1
Start with the Enclosure, Not the Glass
Before any glass is chosen, the configuration has to be settled — and it is the step people skip, because it feels like a separate decision about doors rather than the first decision about glass.
It is not separate. Configuration determines three things that immediately narrow the glass:
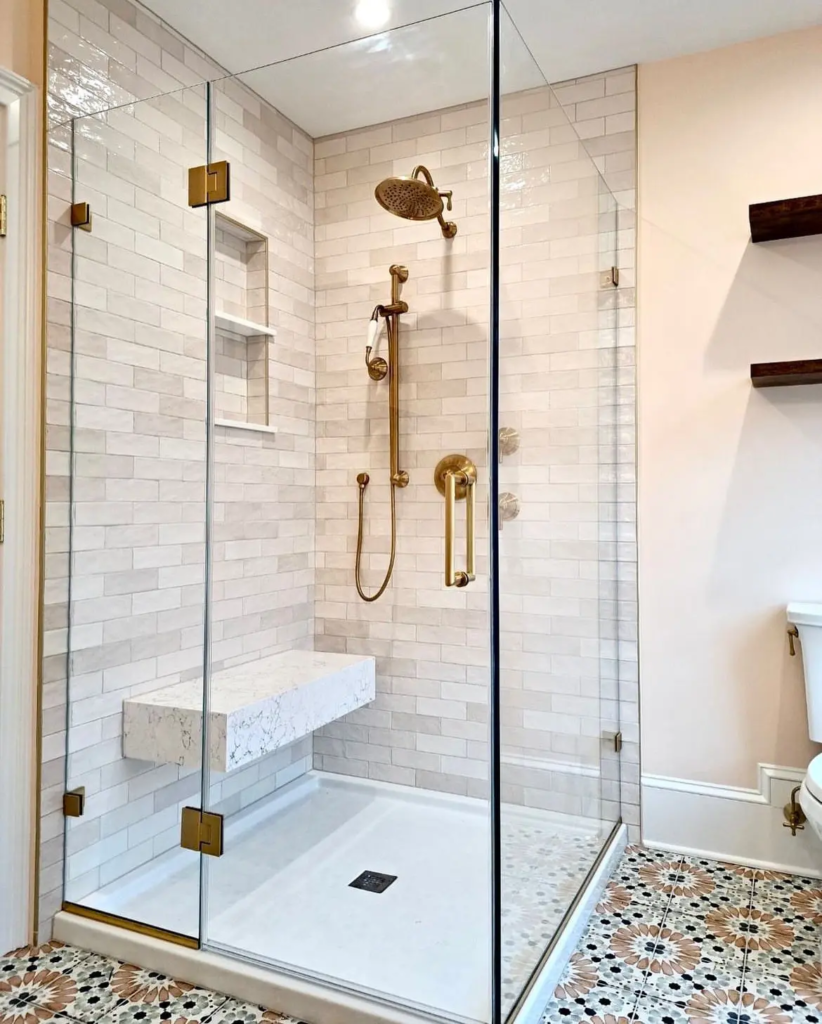
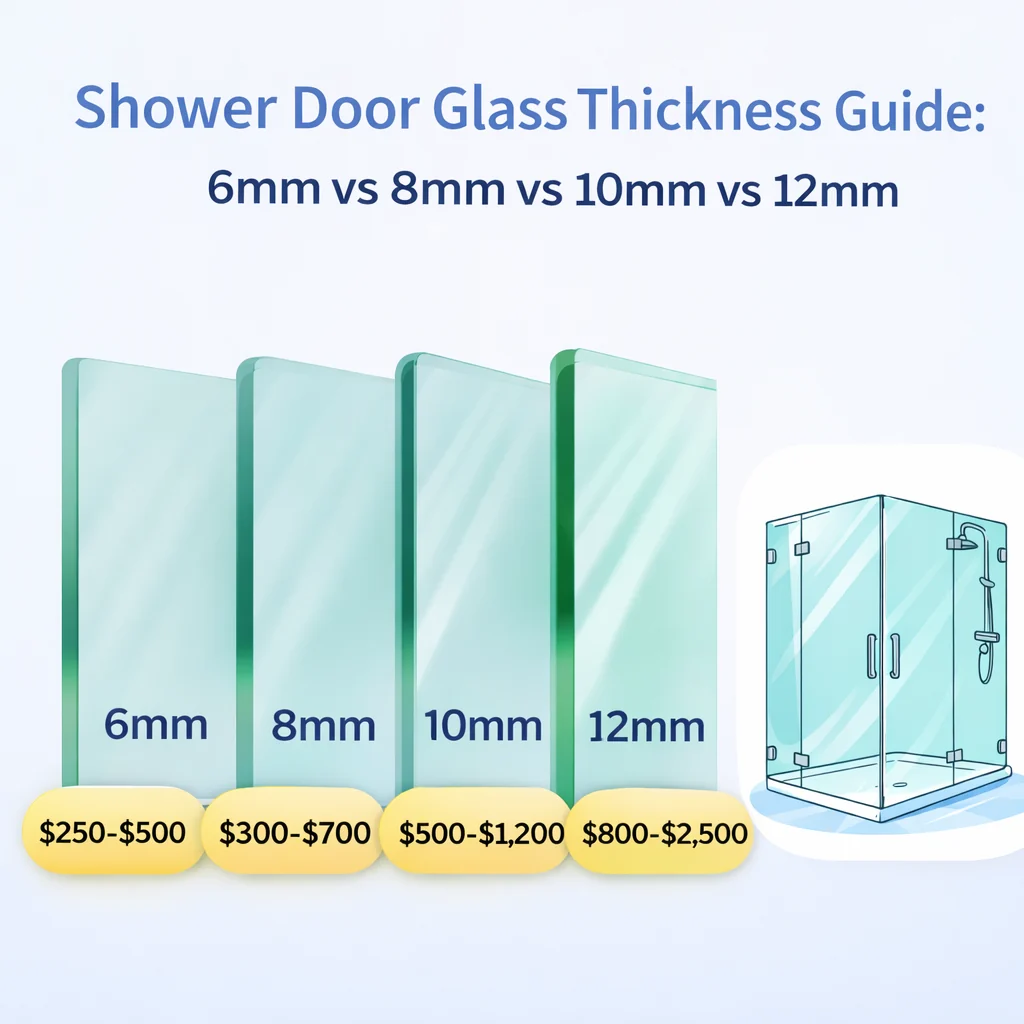
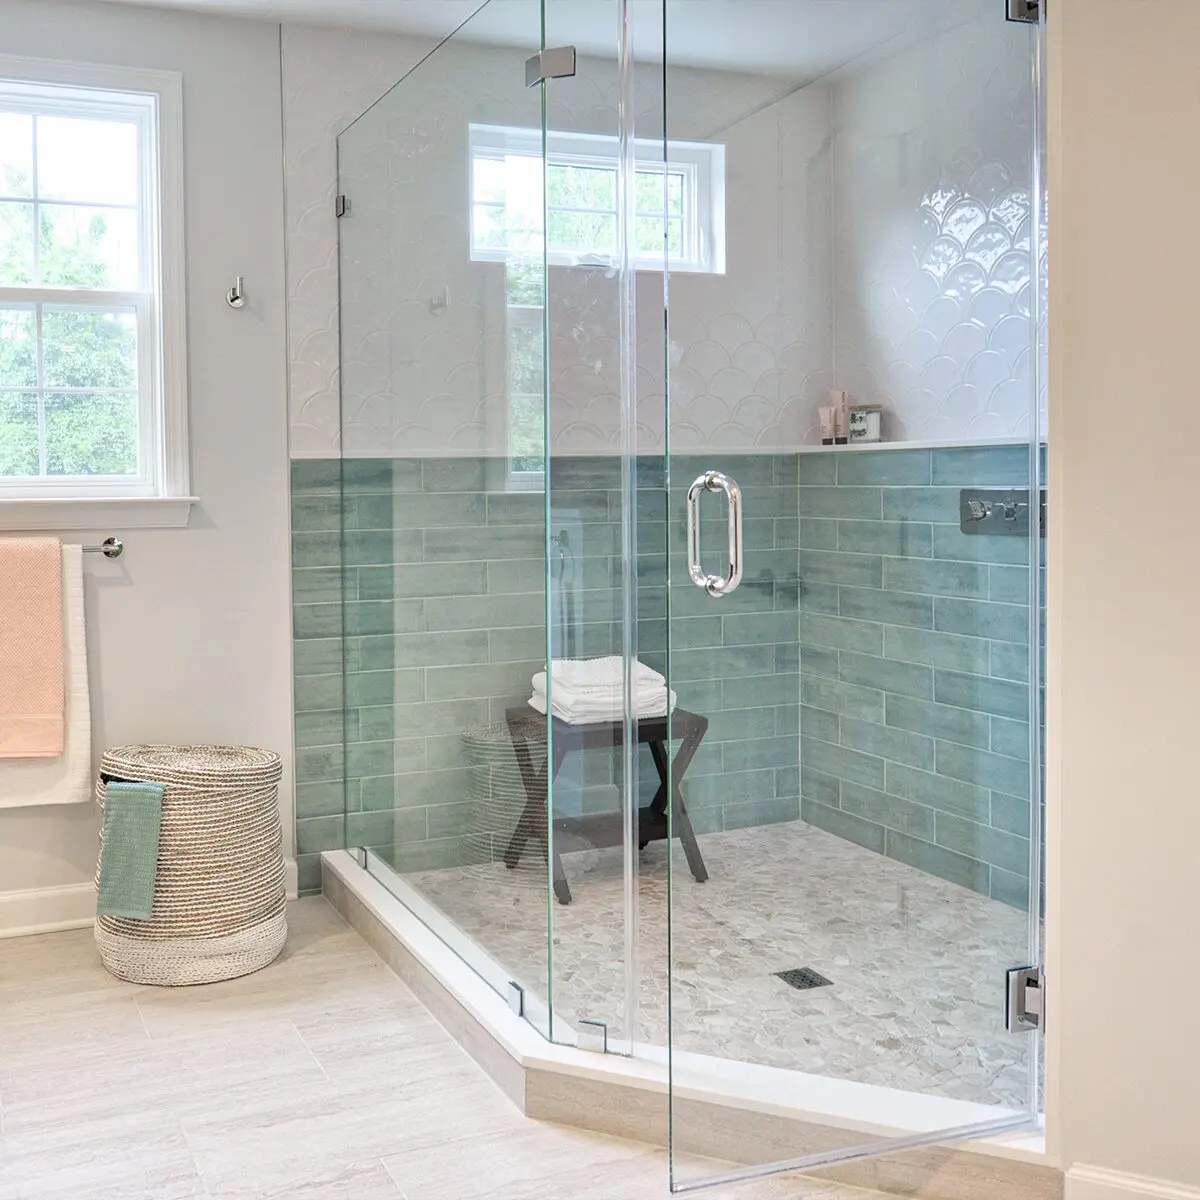
- The thickness range. A framed enclosure has a continuous aluminium perimeter carrying much of the load, so the glass can be lighter. A frameless enclosure has none: the glass carries the load and the fittings are the structure. The same pattern in both is not the same product — see shower glass thickness.
- The hardware type. Hinged, sliding and bifold doors each impose different fitting requirements, and fittings dictate hole positions — which are cut before tempering. See hardware.
- Whether there is a door at all. A walk-in has the shortest hardware schedule in the range, and no door hardware at all. That changes both cost and specification.
Semi-frameless sits between framed and frameless: framing on some runs, exposed edges on others, and a thickness range to match.
Step 2
Decide What the Glass Has to Do
Before choosing a material, establish the requirement — because a surprising number of projects do not need decorative glass at all, and specifying it anyway costs money and light.
The question is a practical one about the room: does anyone need to be obscured, and from how far away, and under what lighting? Three things follow:
- If nothing needs obscuring, clear or low-iron glass does the job, and every decorative option is a preference rather than a requirement.
- If screening is needed at close range, texture or frosting is doing real work — fluted, reeded, textured, frosted.
- If light reduction matters as well, tint enters the conversation — tinted. Note that body tint reduces contrast; it does not screen a lit enclosure at night.
The levels themselves are covered properly on the decorative shower glass hub, which sets out glass type by light and privacy. Come back here once you have the answer.
Step 3
Choose the Substrate — Clear or Low-Iron
This is the step most often missed entirely, and it is the one that changes how everything chosen afterwards actually looks.
Standard clear glass has a faint green cast from its iron content. It is barely noticeable in a small sample and obvious across a large panel, particularly at the polished edge. Low-iron glass removes most of that cast.
Why it belongs before the decorative decision:
- Every colour reads differently over it. A tint, a print or a coating sits on top of the substrate. Over green-tinted glass, cool colours shift and whites do not read as white.
- It is the one decision that cannot be corrected later. Patterns can be changed on a drawing. Substrate is what the glass is.
- For anything colour-critical — brand colours, a specific design intent, a scheme where the glass has to read as neutral — low-iron is not an upgrade, it is the enabling choice.
The rule of thumb. If the glass is the feature, specify low-iron. If the glass is a background and the tiles and fittings carry the scheme, standard clear is usually right and the difference is better spent elsewhere.
Step 4
Then Choose the Decorative Layer
Last, because by now the enclosure has limited the thickness, the function has limited the opacity, and the substrate has set the colour behaviour. What is left is genuinely a choice.
| Option | What it gives you | Where it is constrained |
|---|
| Pattern | Surface relief, from the original glass manufacturer's existing pattern catalogue | Selected, not developed — a new pattern means a new roller at the original glass plant. Etching can be added on top for something proprietary |
| Printing | Any image, in continuous tone, with no minimum run barrier | Developed to your artwork. Ceramic ink changes colour in the furnace, so approval is against a fired sample |
| Etching | Gradients, zoning, graphics — developed to drawing | Uses a screen, which sets a minimum quantity and a lead time. Artwork cannot change after the screen is made |
| Colour | Body tint, printing, or back painting for an opaque colour field | Body tint is four colours; anything outside that range is a printing or coating question |
| Reflective | A one-way mirror effect under the right lighting balance | Depends on the light difference between the two sides. Where the coating should be enclosed, that is a laminated construction question |
The full capability question — what can be developed versus what can only be selected — is set out on custom shower glass. It is worth reading before committing to a direction, because it is the distinction that catches people out.
The Three Constraints Above All of It
These are not steps. They sit over the whole sequence, and each one can overturn a decision made earlier.
1. Everything is decided before the furnace
Cutting, drilling, notching and edge work all happen before tempering, and nothing happens after it. Tempered glass cannot be cut, drilled or re-worked. That single rule is why the sequence matters at all: any decision revisited after production means a new panel, not an adjustment. The sequence it imposes is set out on tempered shower glass.
2. Safety glazing is a precondition, not an option
Shower glass is safety glass. It is not an upgrade or a specification choice — it is what the product is. Which requirements apply depends on the destination market and the building type, both of which should be stated at enquiry. No specific standard is asserted here, for the same reason none is asserted elsewhere on this site: naming one would be wrong for some markets and misleading for others.
Where a construction requirement also applies — some jurisdictions and building types require laminated glass in wet areas — that decision sits alongside the glass choice, not inside it.
3. Glass, metal and fittings are one specification
Three interfaces fail when they are specified independently:
- Glass to profile. Every section has a bore made for a specific glass thickness. A section made for 8 mm will not take 10 mm. See profiles.
- Glass to fitting. Panel weight follows area × thickness, and fitting ratings are checked against it. Ask at quotation, not at handover. See hardware.
- Metal to metal. Aluminium profiles and stainless steel fittings are different base materials, made in different works. The same finish name on both is not the same colour — a tolerance, not a defect. See hardware finishes.
Two Worked Examples
The same four steps, run for two very different briefs.
| | A residential renovation, one bathroom | A hotel, 180 rooms |
|---|
| Step 1 — enclosure | Frameless, hinged door. Sets 10 mm and a hinge specification | Semi-frameless, sliding. Sets 8–10 mm, and roller ratings become the critical item |
| Step 2 — function | Screening needed at close range, in a bright room | Screening needed, plus consistency across 180 identical rooms |
| Step 3 — substrate | Where the glass is the feature, low-iron so the pattern reads clean | Low-iron if the scheme is colour-critical; otherwise standard clear, since the difference multiplies by 180 |
| Step 4 — decorative | Fluted or reeded from the catalogue — a single-panel quantity suits selection, not development | At this volume, a proprietary pattern via etching becomes economic, and the screen cost spreads across the run |
| Constraint that bites | Measure twice — one panel, no spares, and re-ordering means re-templating | Hole positions locked by the roller choice before the first panel is cut, across every room
|
What the two have in common. Neither bought anything until step four. The difference is entirely in which constraint dominates — for one bathroom it is measurement, for 180 rooms it is repeatability.
Five Mistakes
Choosing from a photograph
Decorative glass is a material that behaves in light. A pattern approved on a screen can read completely differently at panel size under bathroom lighting. Samples exist for this reason.
Picking the glass before the enclosure
Thickness follows configuration, and thickness changes how a pattern or tint reads. Glass is step four.
Overlooking the substrate
Two identical prints, one on clear and one on low-iron, are not the same colour. Substrate is the decision underneath every other one.
Assuming "custom" means the same thing everywhere
Printing and etching can be developed to your design. Pattern and body colour are selected from what the original glass manufacturer already makes. See custom shower glass.
Treating privacy as one thing
Daytime screening and night screening are different problems. Body tint reduces contrast but does not screen a lit enclosure after dark. Say which one you mean.
Specification Summary
RelatedTechnical
Shower Glass Thickness
Tempered Shower Glass
Laminated Shower Glass
How to Choose Shower Enclosure Glass
How to Care for Shower Glass
Hardware Finishes
Request a Quote
We use your details to respond to this enquiry only
See the Range, or Handle a Sample
Eleven glass types, each with its own page and its own samples. If you would rather start by looking, the collection is the place to begin — and if you already know what you want, samples settle it faster than any photograph.
Request Samples Browse the Glass Range
© Jumbo Glass Group · Showerspace — decorative shower glass and custom shower enclosure systems